At the first of the year I thought I'd start a blog to complement my website. I imagined that the blog should be about things I make, like diy, that aren't only needlework, but things in my home and garden. I planned to include the occasional recipe that I thought worth sharing, and sometimes I would write a bit about a trip or a book or an outing.
Alas, January came and went and I didn't start the blog. But today is my birthday which, in a manner of speaking, is another start to the year, so suddenly it seems like a good day to begin. And I can write about a cake decoration using Pocky that I made today!
What exactly is Pocky? Well, it's a little chocolate covered cookie or biscuit, shaped like a stick, that comes in a box, is made by a company named Glico, and one box costs a couple of dollars. They are available in different flavors in many US grocery stores in the Asian food section. My daughter introduced them to me a couple of years ago and I remarked then that they would make cute cake decorations. [Hint: they also make great stocking and Easter basket stuffers!]
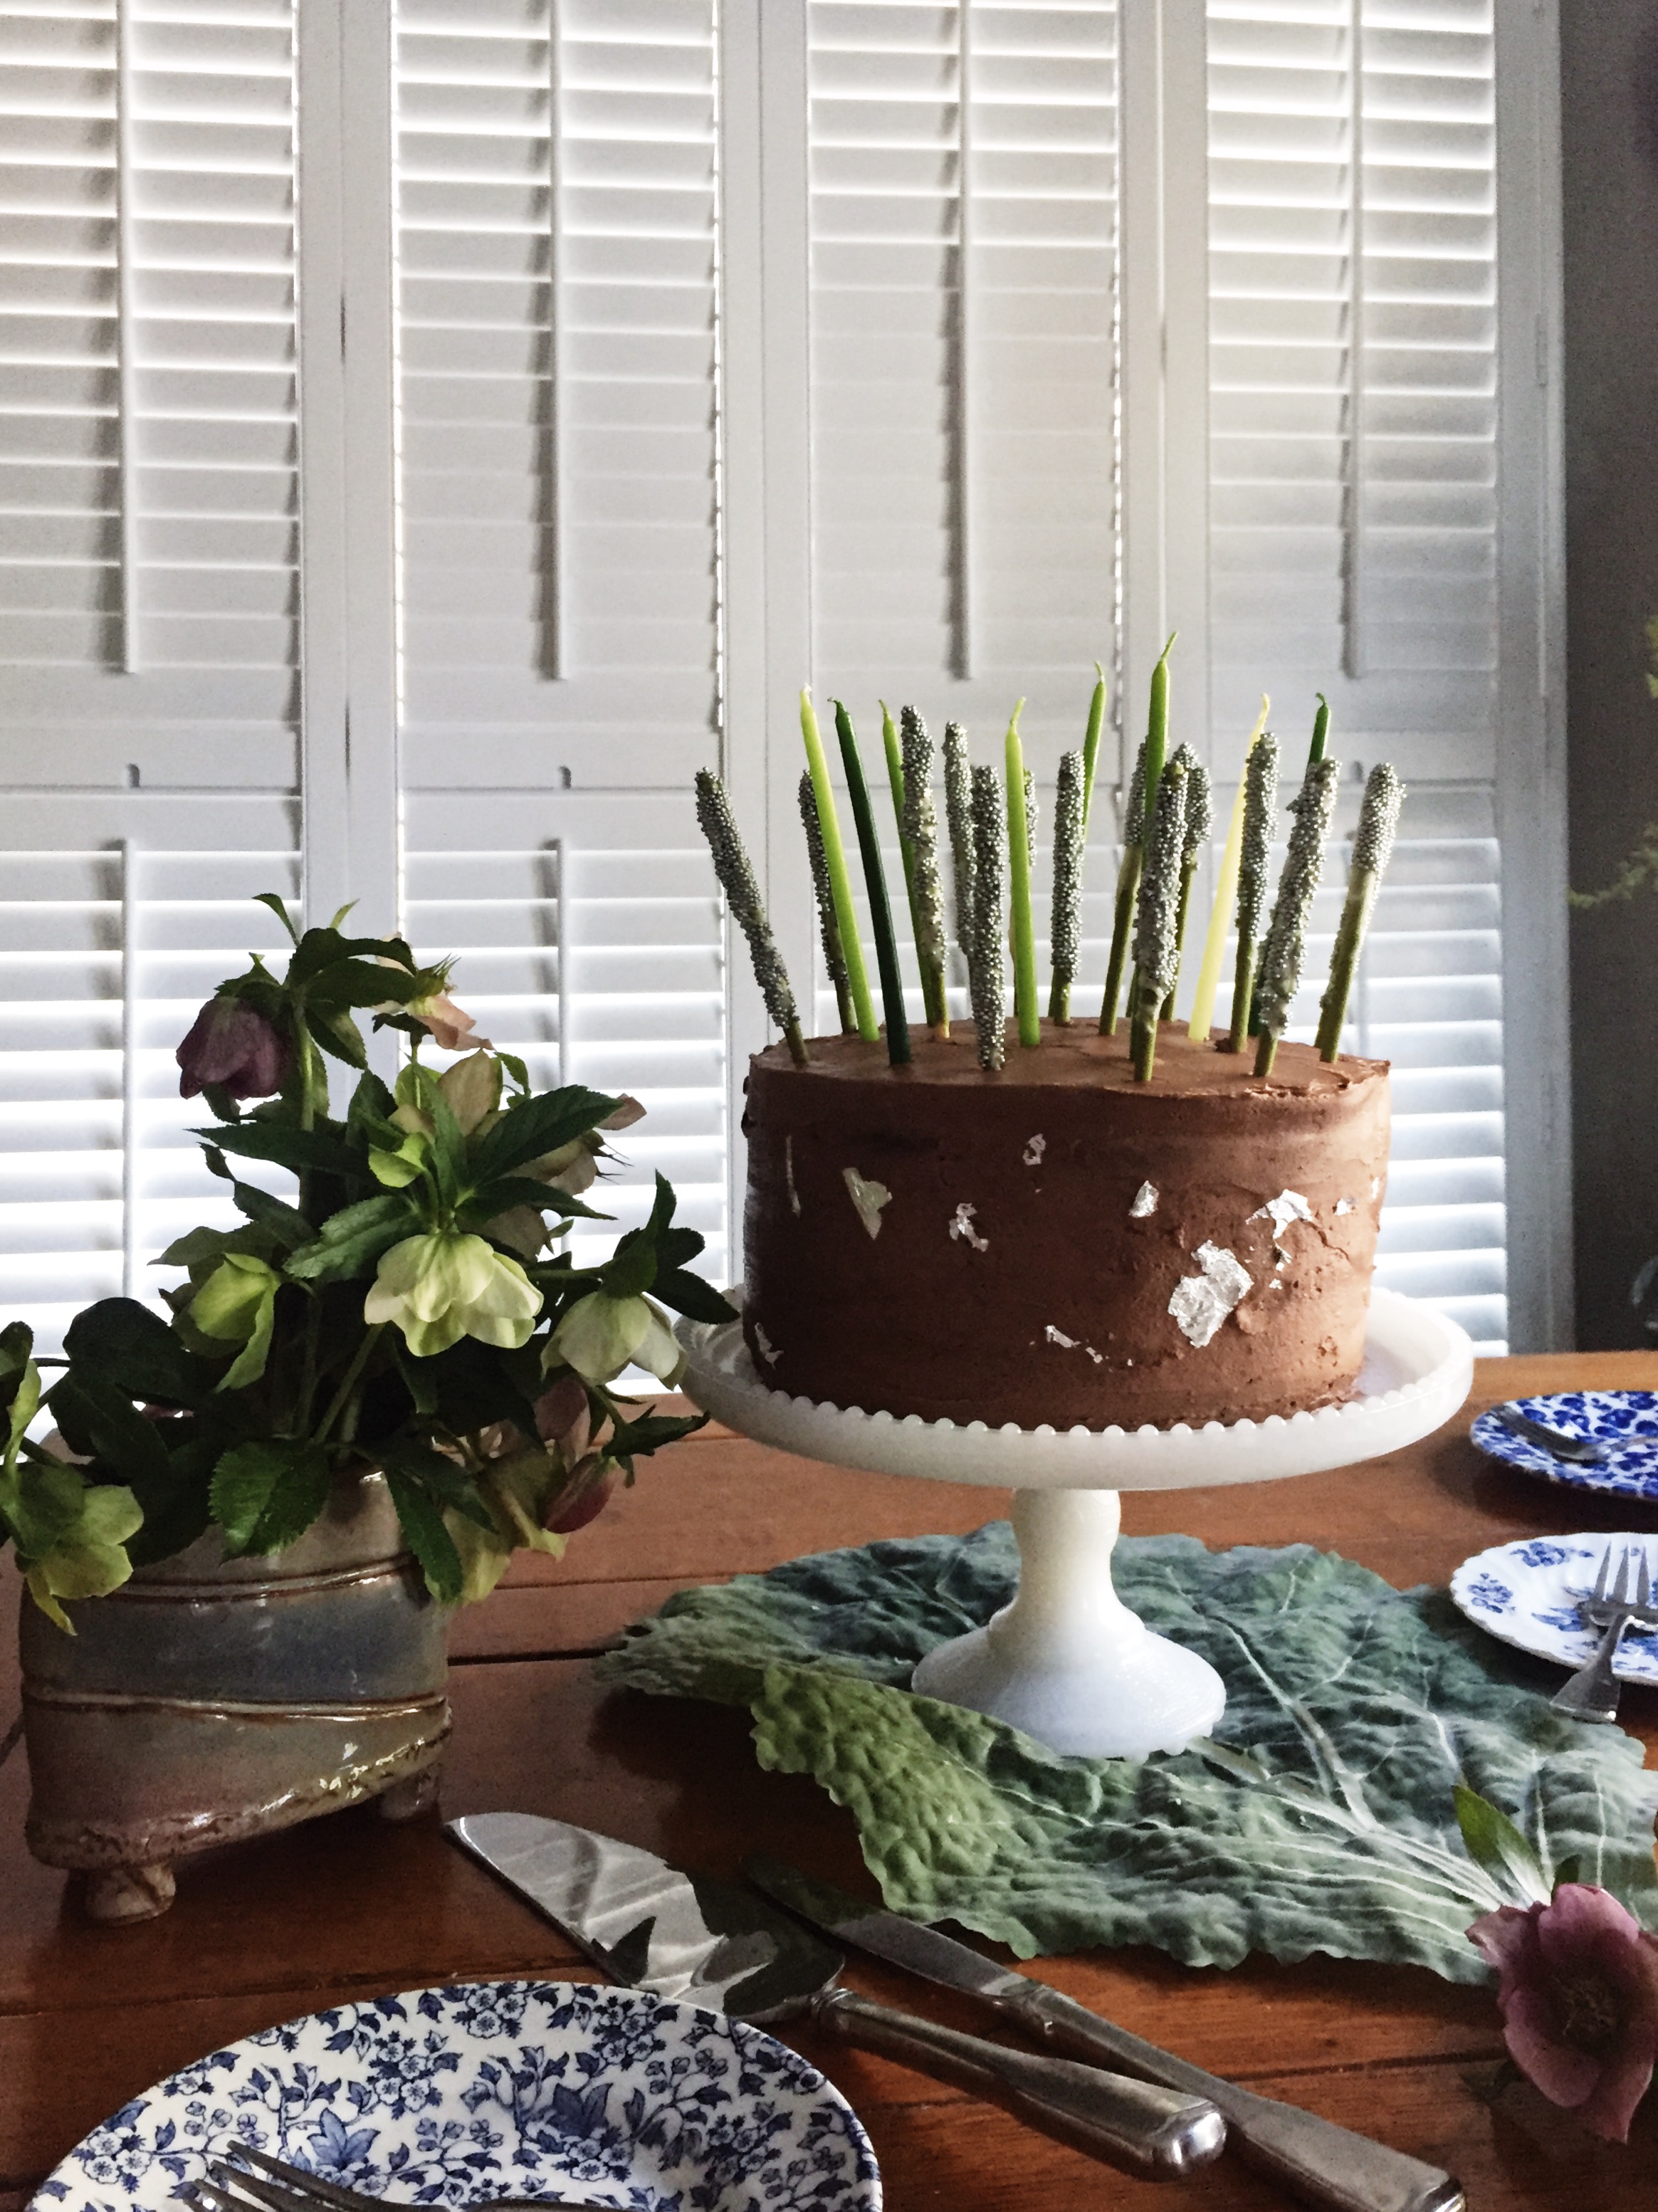
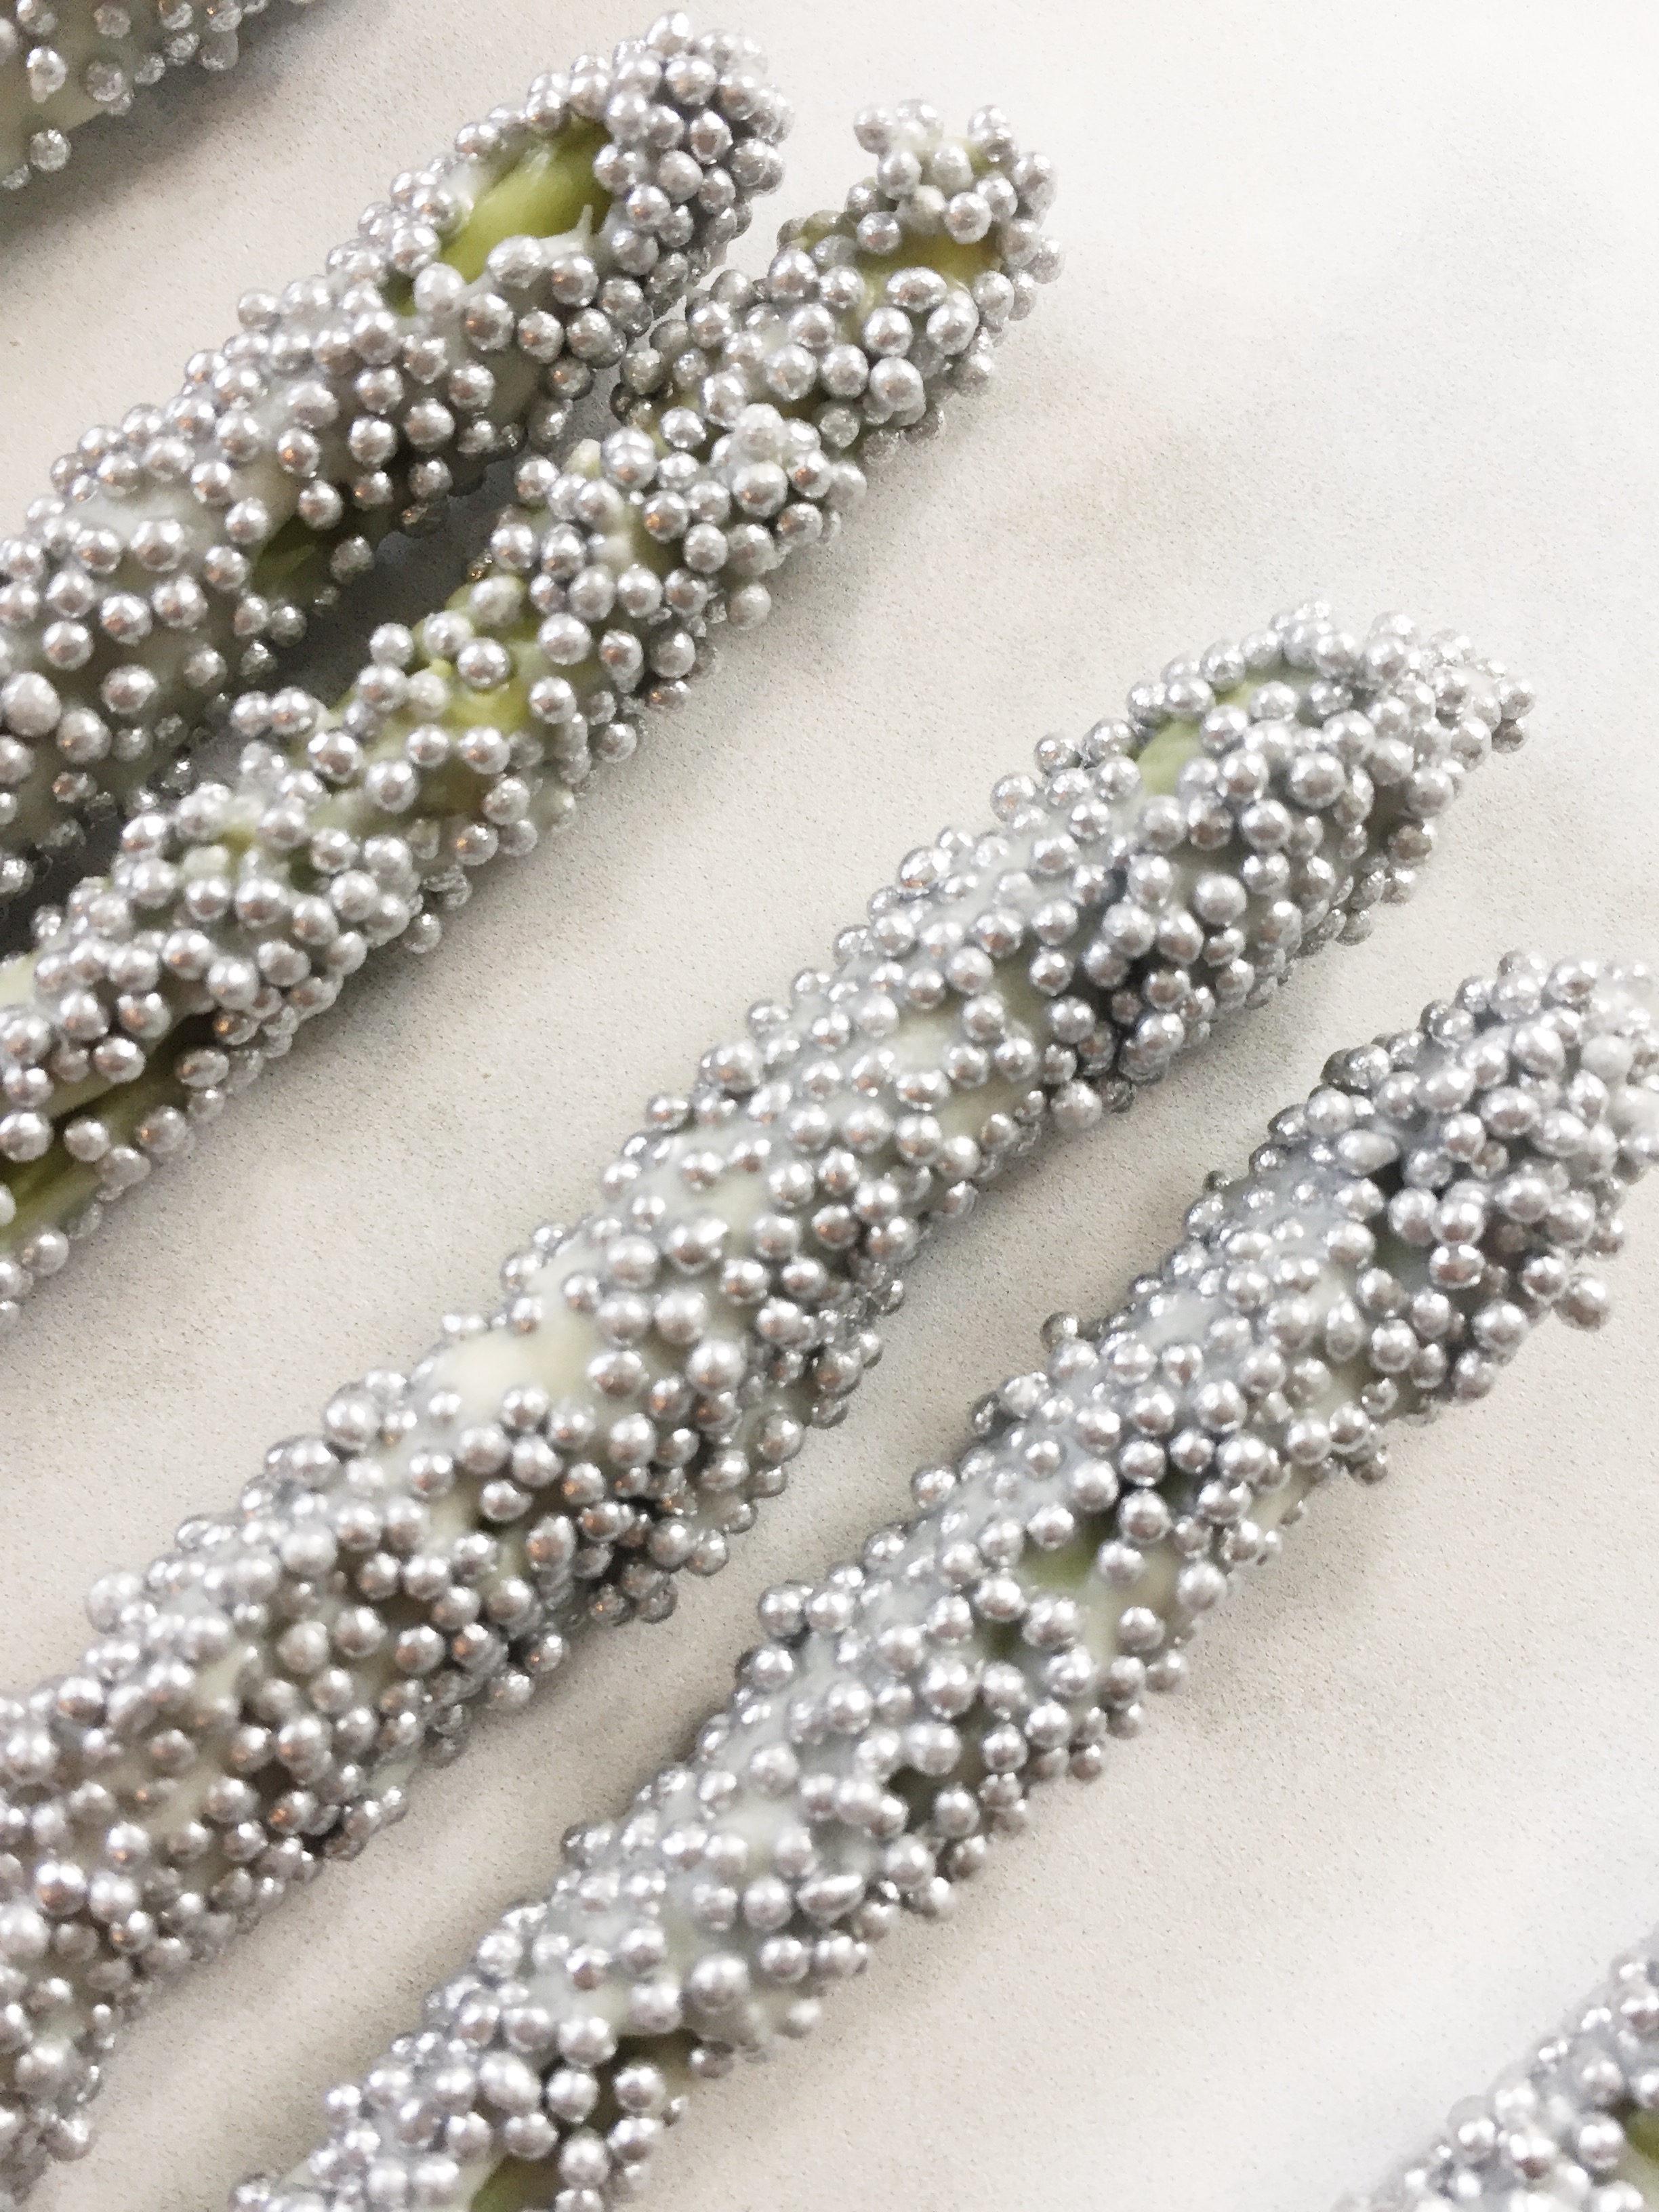
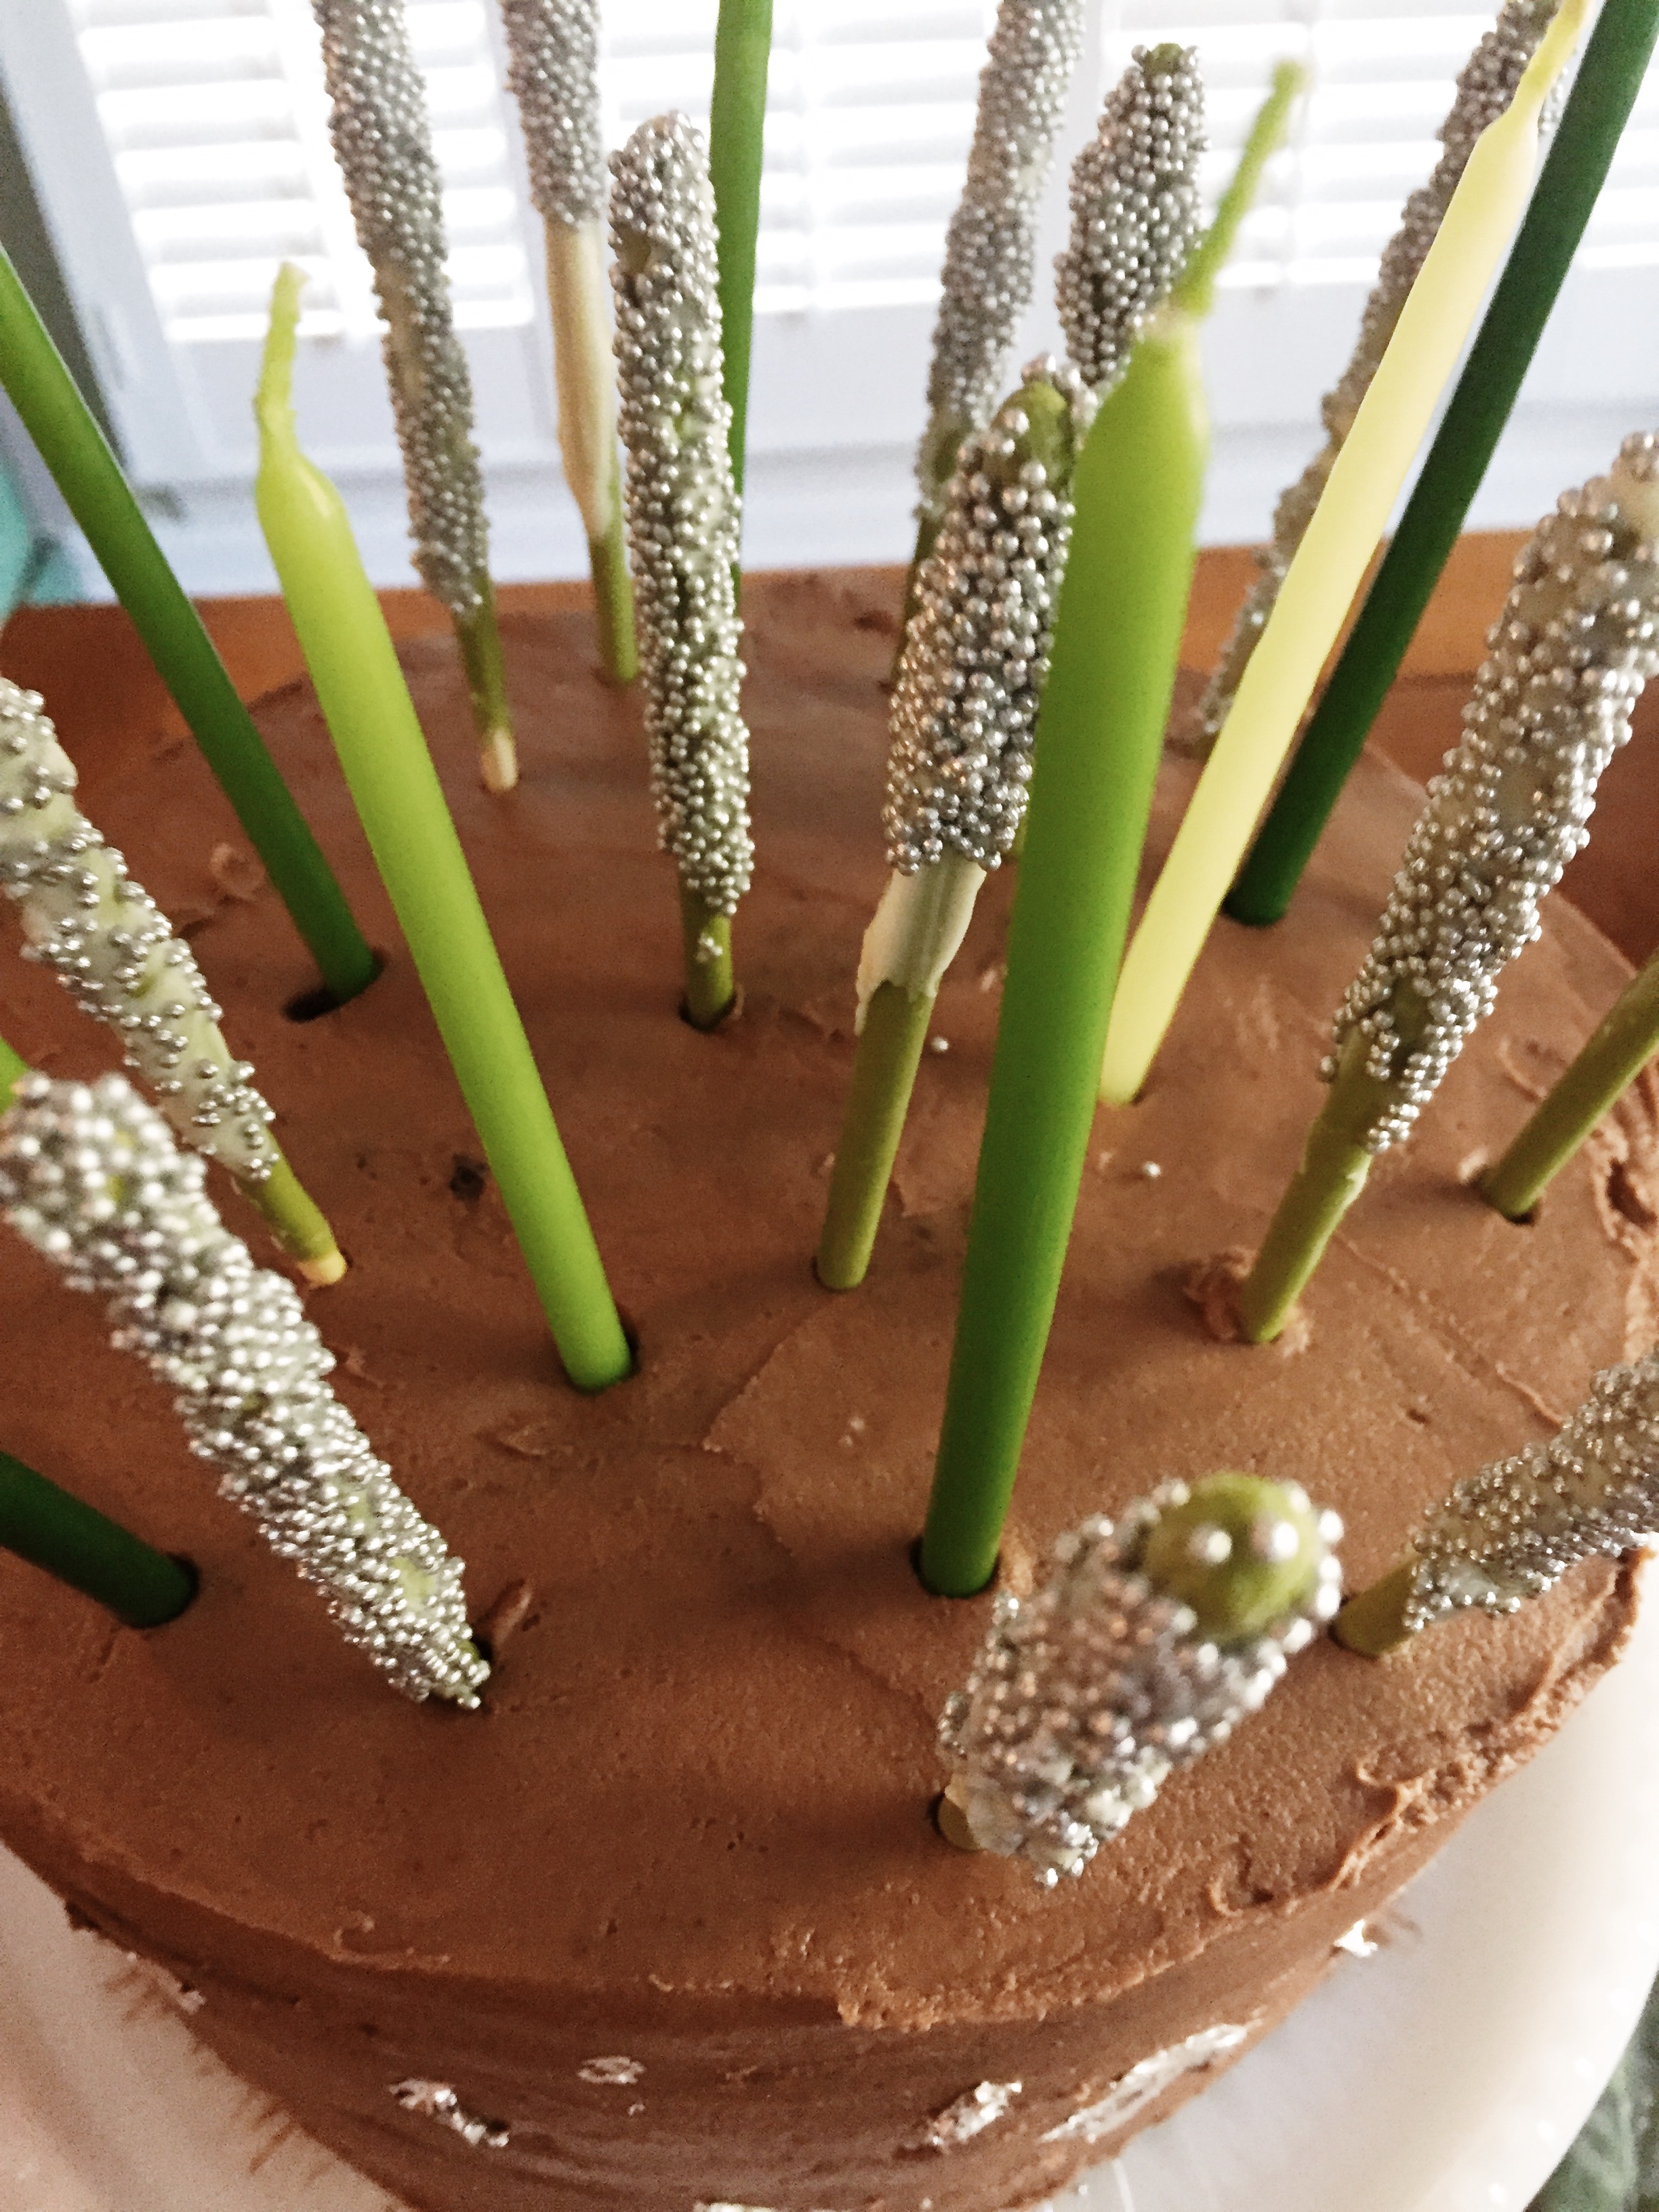
Today I baked and iced a gluten free chocolate cake for our birthday - "our" because my younger daughter was born on my birthday - and I had the idea to use Pocky and dip them in chocolate and sprinkles. I hadn't thought about the matcha flavored ones, but when I saw them in my store, I decided to go with them. I've been hoarding some mini silver dragee sprinkles and this is the perfect day for using them! I wasn't meticulous about covering the Pocky completely because I love the green matcha color showing through, and I also wanted some of it to show at the bottom end as well. Finally, I had some green candles [that I was also hoarding - insert roll eyes emoji] which complemented the matcha green and completed the look I wanted.
The directions are very simple, but here they are:
Pocky Cake Decorations
INGREDIENTS
1 box Pocky chocolate covered biscuit sticks, any flavor
1/2 cup white chocolate chips
2mm silver dragees, or any other small sprinkles or sugars, poured onto a flat plate
Wax paper
DIRECTIONS
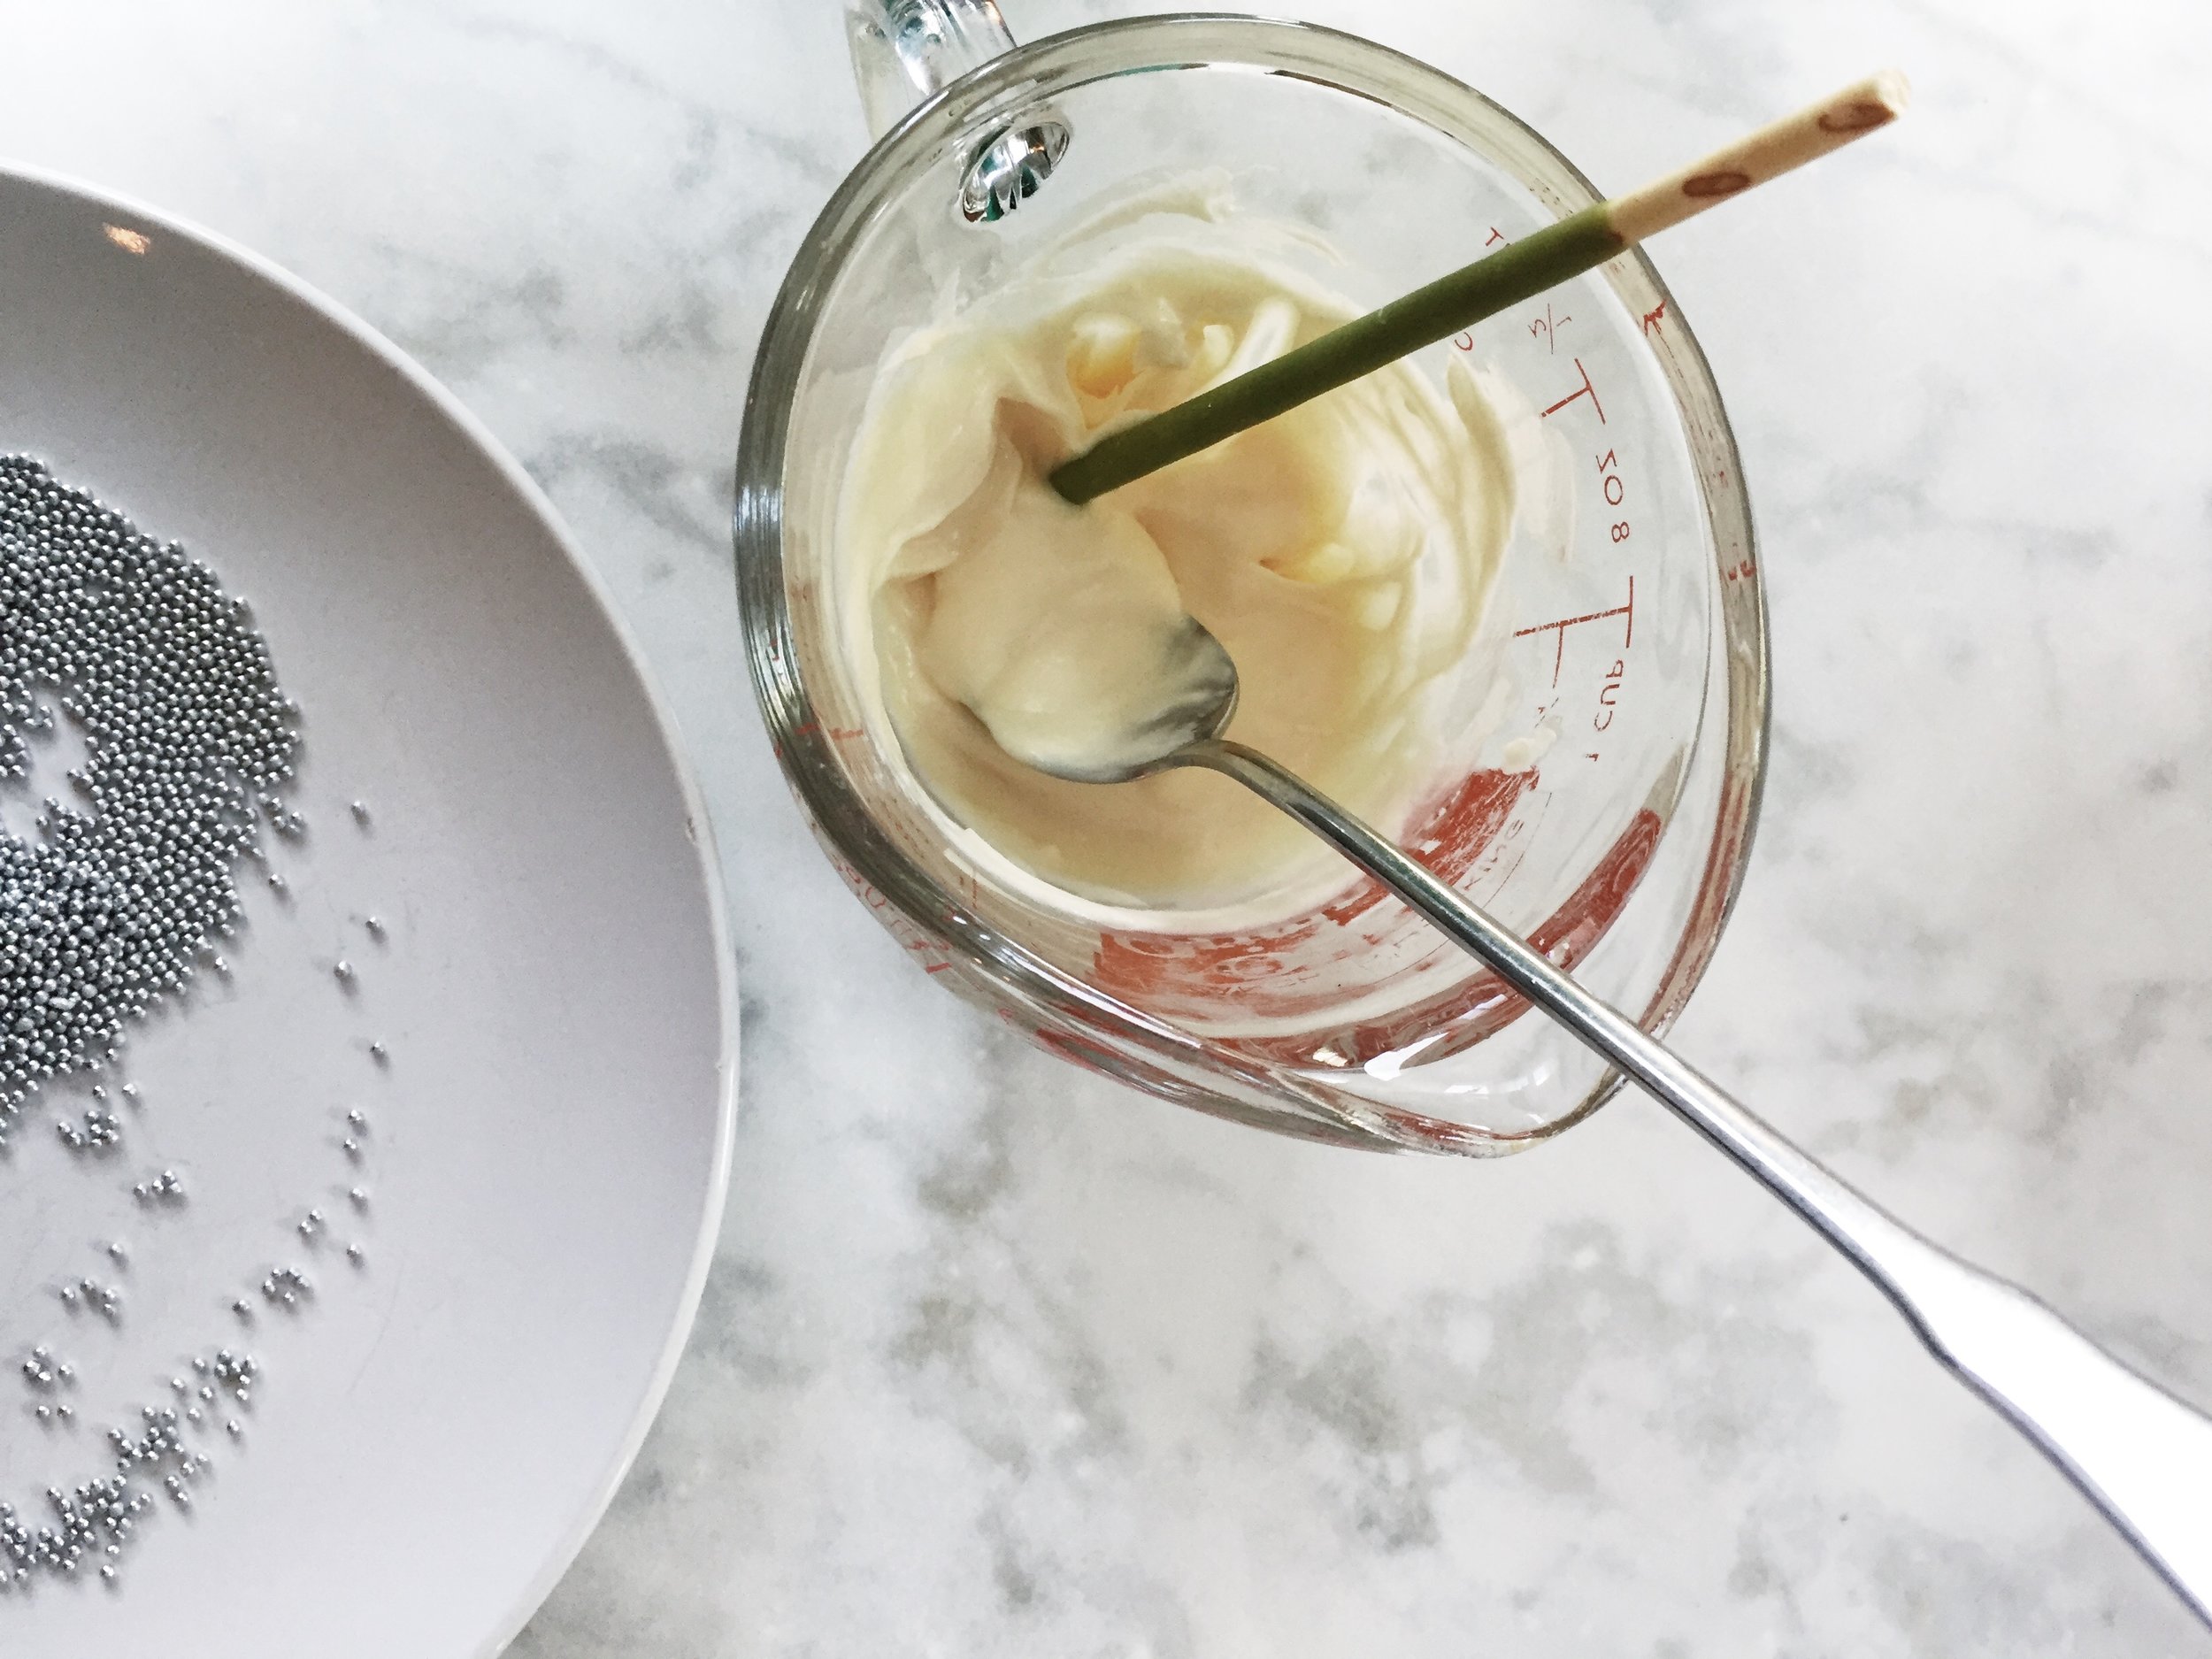
Melt the white chocolate chips in a microwave safe measuring cup in the microwave. Remove and stir after 30 seconds. Keep microwaving in 10 second increments, stirring in between, until just melted. Chocolate can burn super quickly in the microwave. [If you prefer to heat in a double boiler, that's great.]
Dip one Pocky at a time into the chocolate. You may need a knife to smear the chocolate a little higher because the chocolate in the cup doesn't reach all the way up the Pocky stick. Immediately after applying the chocolate, dip into the sprinkles and roll over to cover all sides as much or as little as you prefer.
Allow the chocolate to set by placing on the wax paper. Now you are ready to decorate the cake.


